Testing
Games can be launched on the platform from a local server, simplifying the development and testing of functionality related to the SDK.
Please note that you will need to add a draft of the game using the Yandex Games console.
Build Configuration
First, configure the project build in the Project → Build panel.
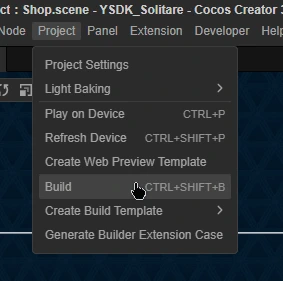
In the window that opens, click New Build Task to create a new build configuration.
Configure the parameters. It is usually recommended to enable the Source Maps and Debug options to simplify debugging.
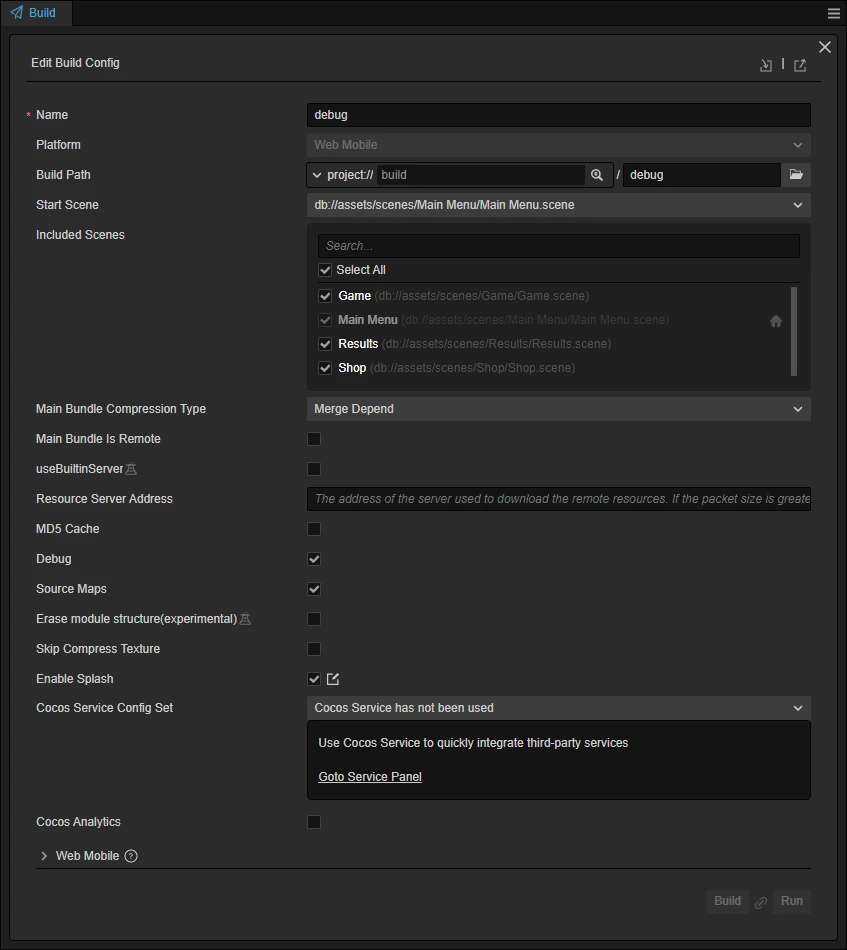
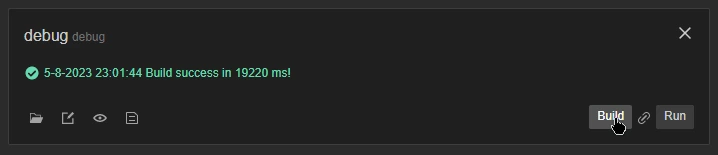
After finishing the configuration, click the Build button to build the project.
Then, go to the folder where the project is located. You will see a folder with a structure similar to this:
1Project name/
2└── build/
3    └── debug/
4        ├── ...
5        └── index.html
Setting Up a Local Server
For detailed information, see the section Launch from local server.
Testing
When the local server is running, you can test the game using this link, where XXXXXX is the code of your draft:
https://yandex.ru/games/app/XXXXXX?draft=true&game_url=https://localhost:6577
To test a new version, rebuild the project in the Build panel without changing any parameters, and refresh the page after the build is complete.