Localizing sprites
This method allows you to create multiple sprite localizations without changing the rest of the project.
Note
To enable sprite localization, you need to create translation files for all the languages you need.
Adding animations
To create a localized sprite:
- Create a sprite in Construct 3.
- Add new animations with the required language codes to the animation list.
- Add the appropriate graphics for each animation.
Warning
To create a localized sprite, simply add new animations with your desired language codes to the sprite's animation list.
Example of a localized sprite:
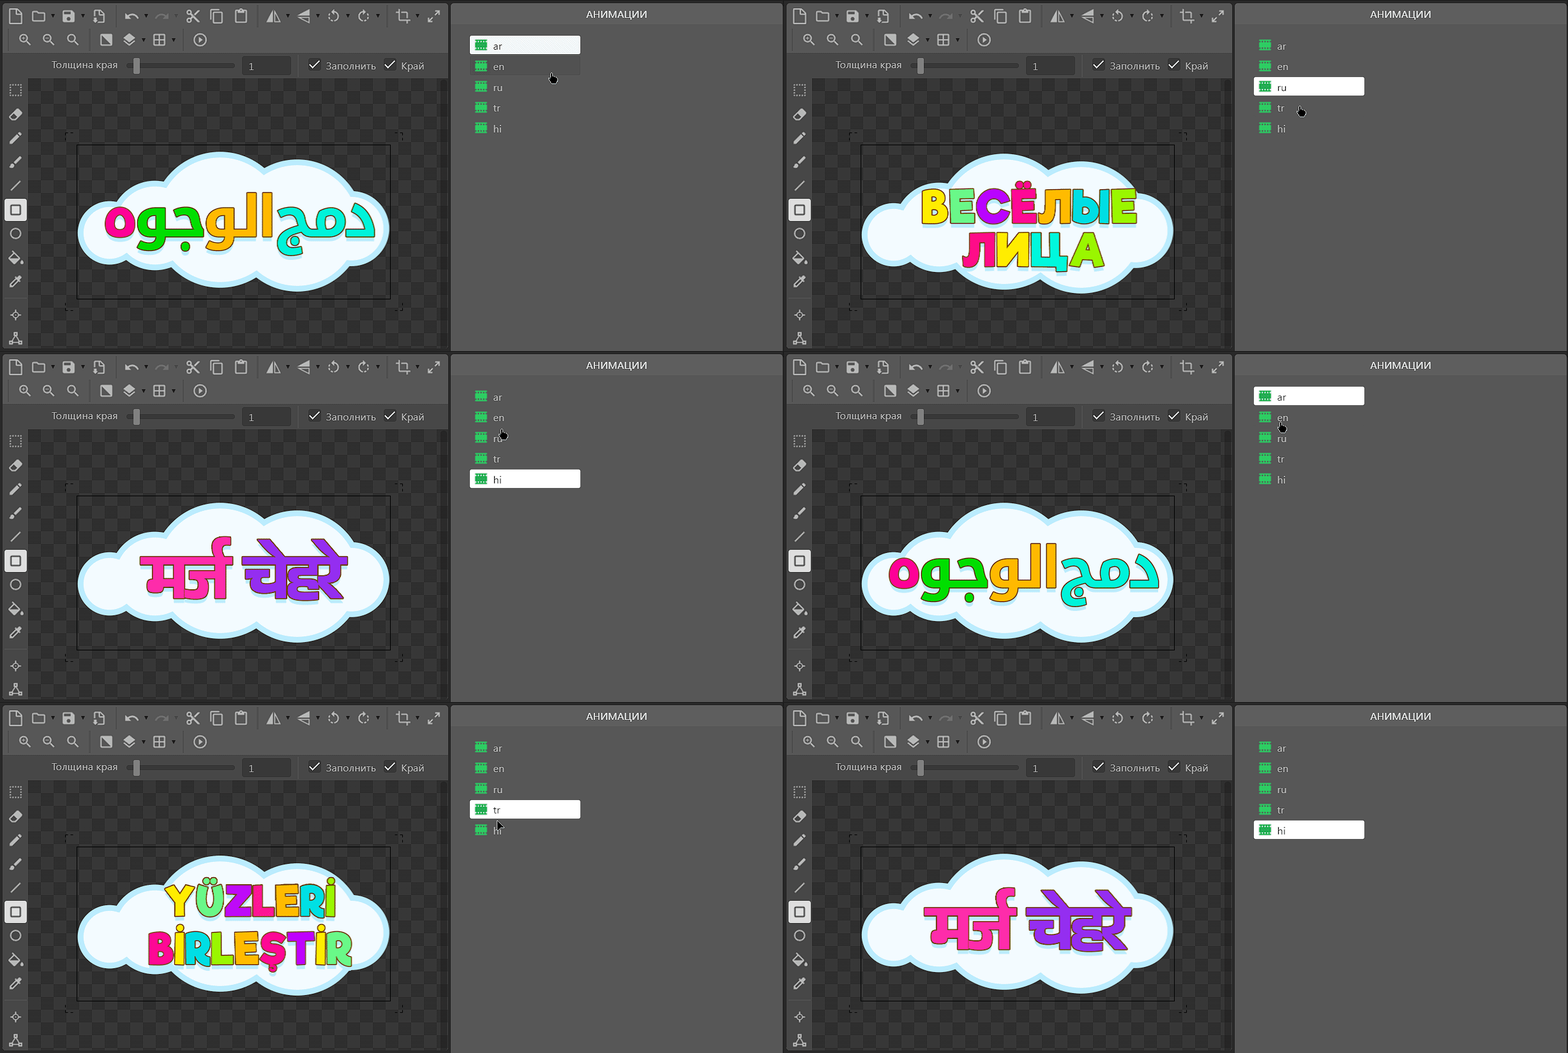
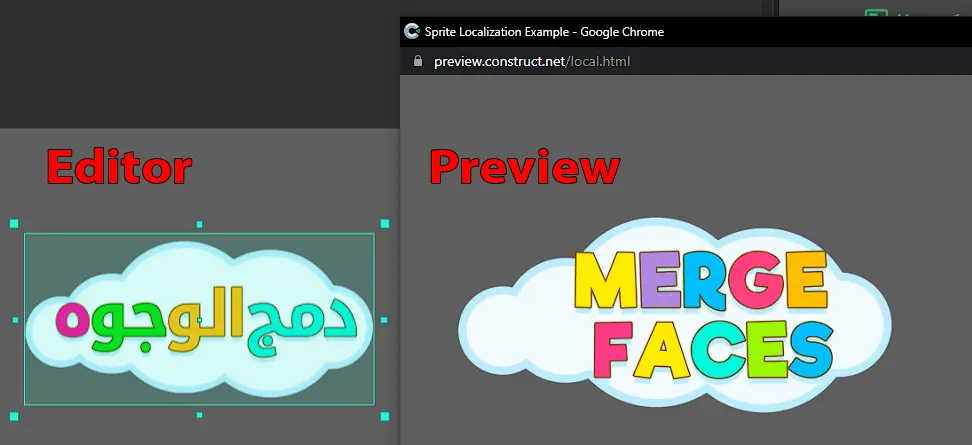
To test the sprite localization, click the Play button (preview). In the Preview window, the sprite animation will change to the one that matches the player's current language.
Was the article helpful?
Previous
Next