Localization
Localization Editor
Translations are stored in JSON format inside the project, and we recommend using it for editing them.
After installing the plugin, in the Yandex Games SDK section, click the Localization Editor option.
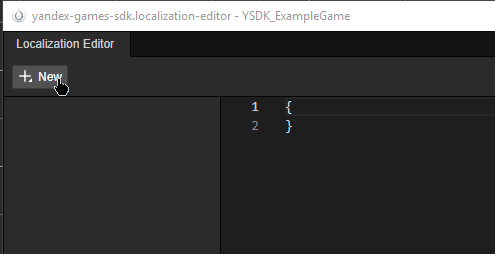
To create a localization, click the Create button in the top-left corner.
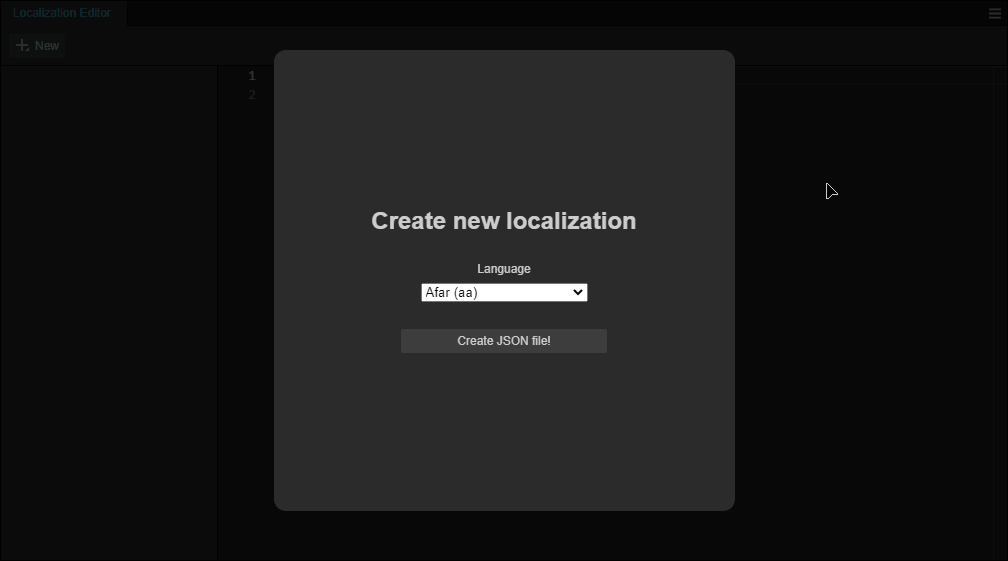
A modal window will appear where you can select a language. When finished, click Create JSON file.
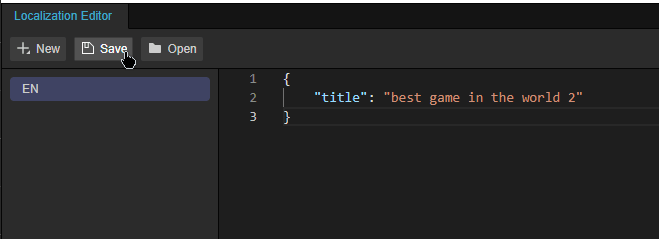
For example, select English (en) and enter the following into the editor:
1{
2    "title": "best game in the world 2"
3}
Click the Save button to save the localization and test it in the game.
Applying Your Localization
There are two ways to apply localization: using the l10n.t() method or through the smart localization component.
The l10n.t method
Let's first try using the l10n.t() method. Create a new component and insert the following:
 1import { _decorator, Component, Label } from 'cc';
 2import { l10n } from 'db://yandex-games-sdk/ysdk';
 3const { ccclass, requireComponent } = _decorator;
 4
 5@ccclass('ButtonLocalizationTest') // Component name.
 6@requireComponent(Label) // Dependency on the Label component.
 7export class ButtonLocalizationTest extends Component {
 8    onLoad() {
 9        const label = this.getComponent(Label); // Retrieve the Label component.
10        label.string = l10n.t('title'); // Set the text of the Label based on a previously specified key.
11    }
12}
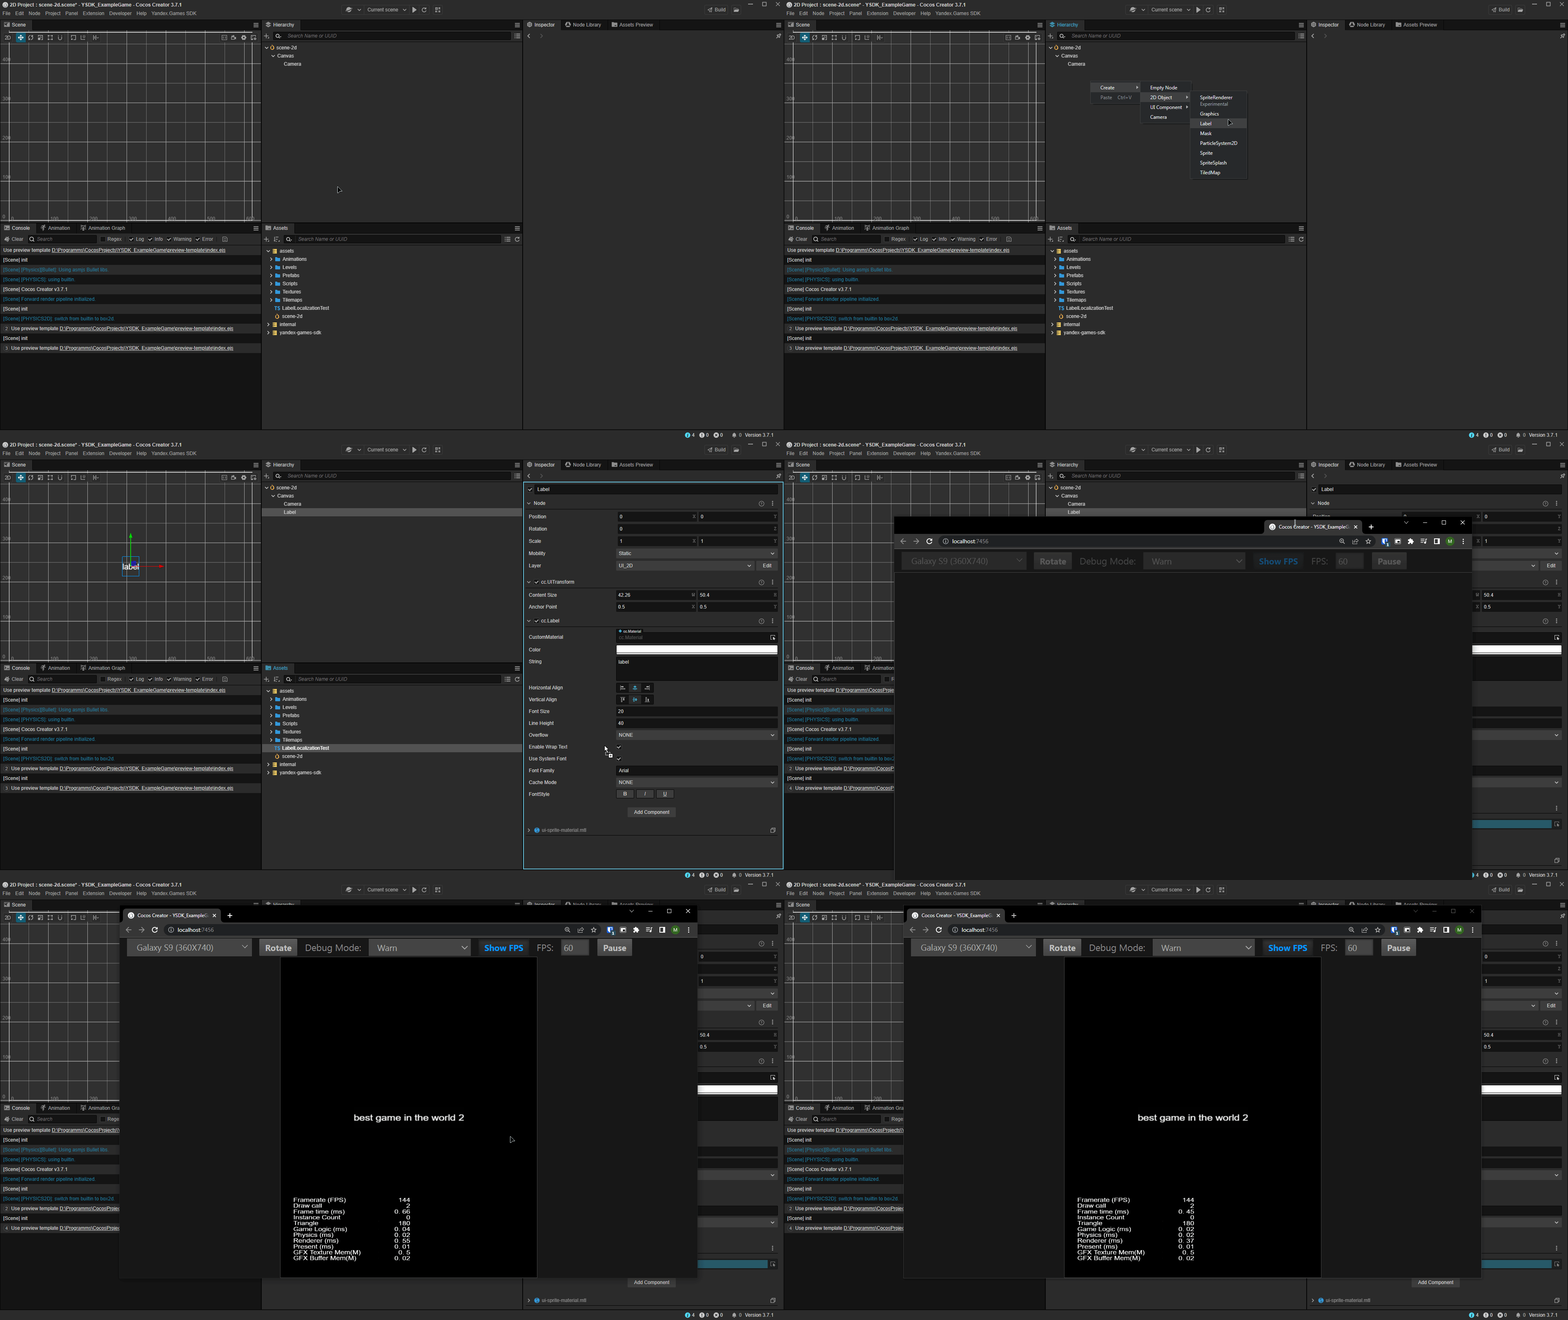
After you create a node with the Label component on the scene, you can localize it by dragging the component into the node.
The Ready-made Component L10nLabel
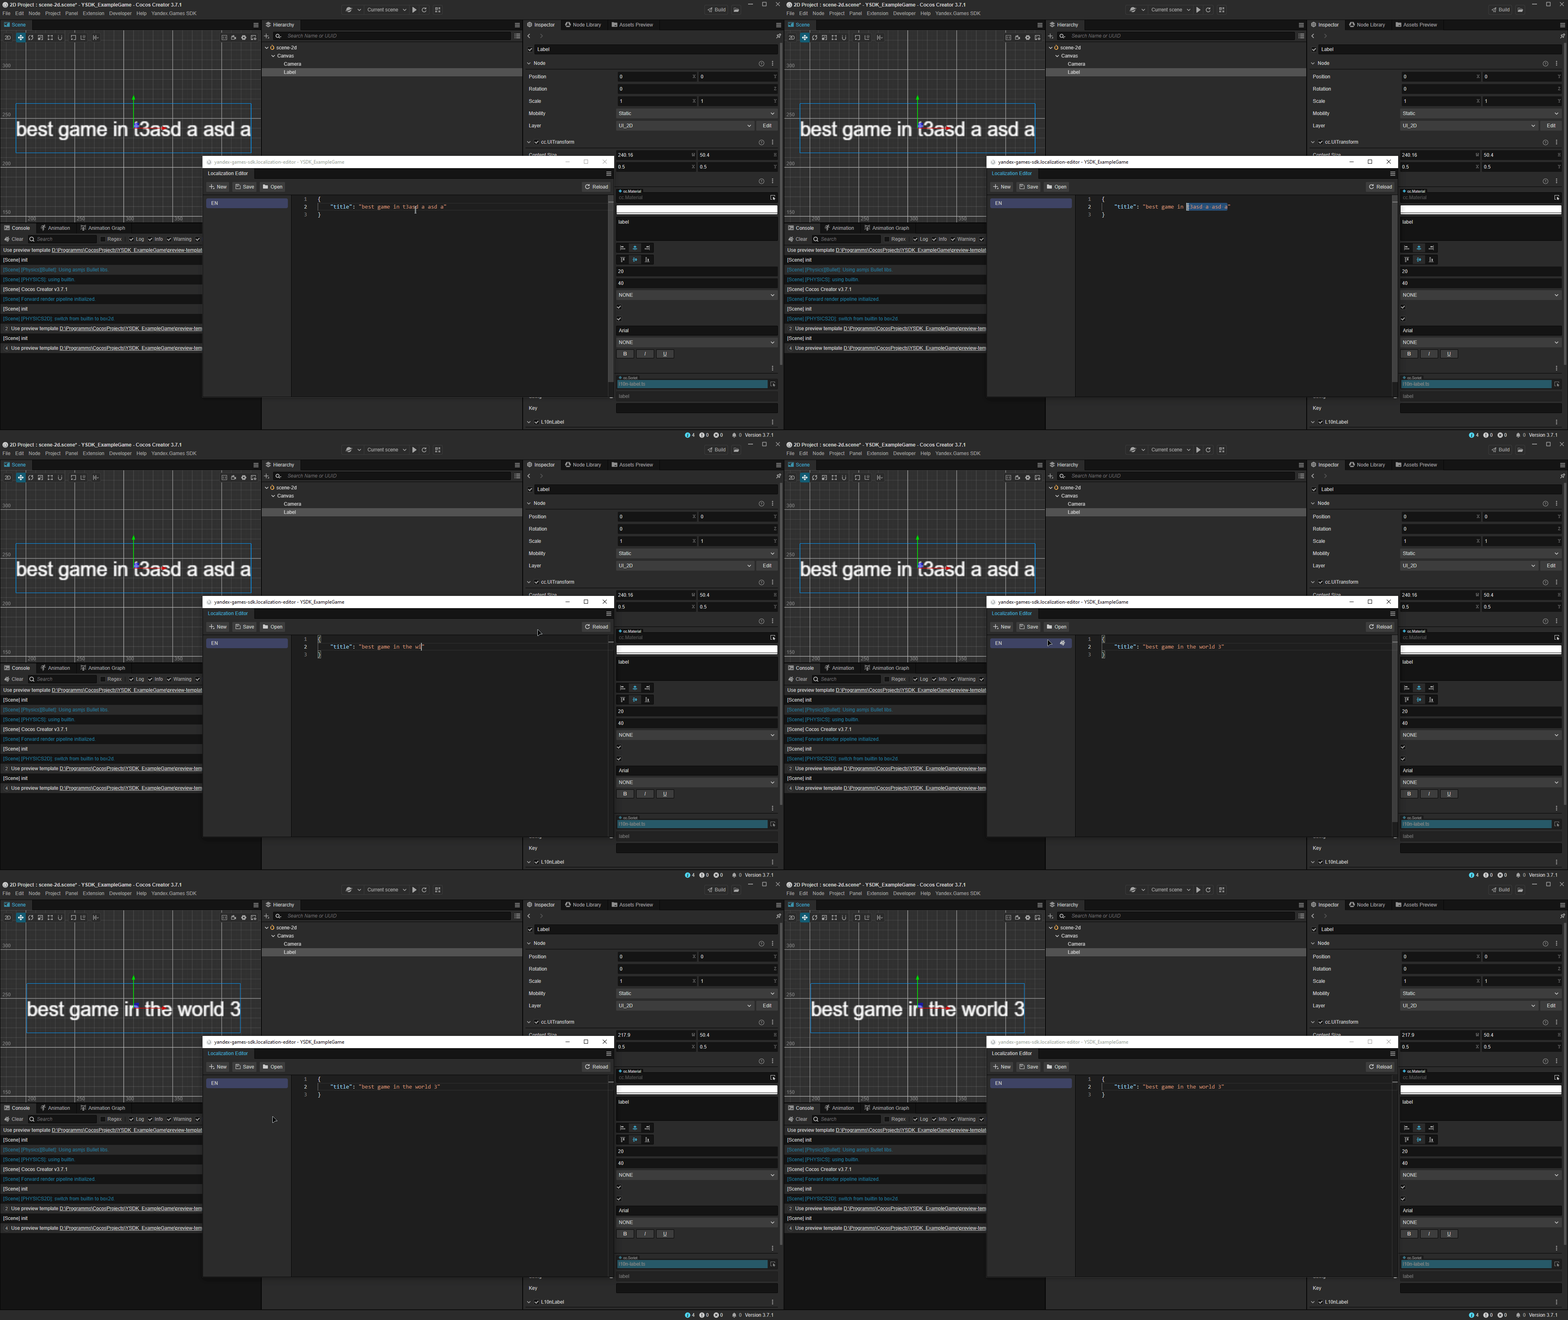
The plugin includes a ready-made component that displays the key directly in the editor. You do not need to compile the project to see changes, as it automatically updates when changes are made in the translation editor.
Click the Add Component button for the node you are interested in, scroll to the YandexGamesSDK group, and select L10nLabel.
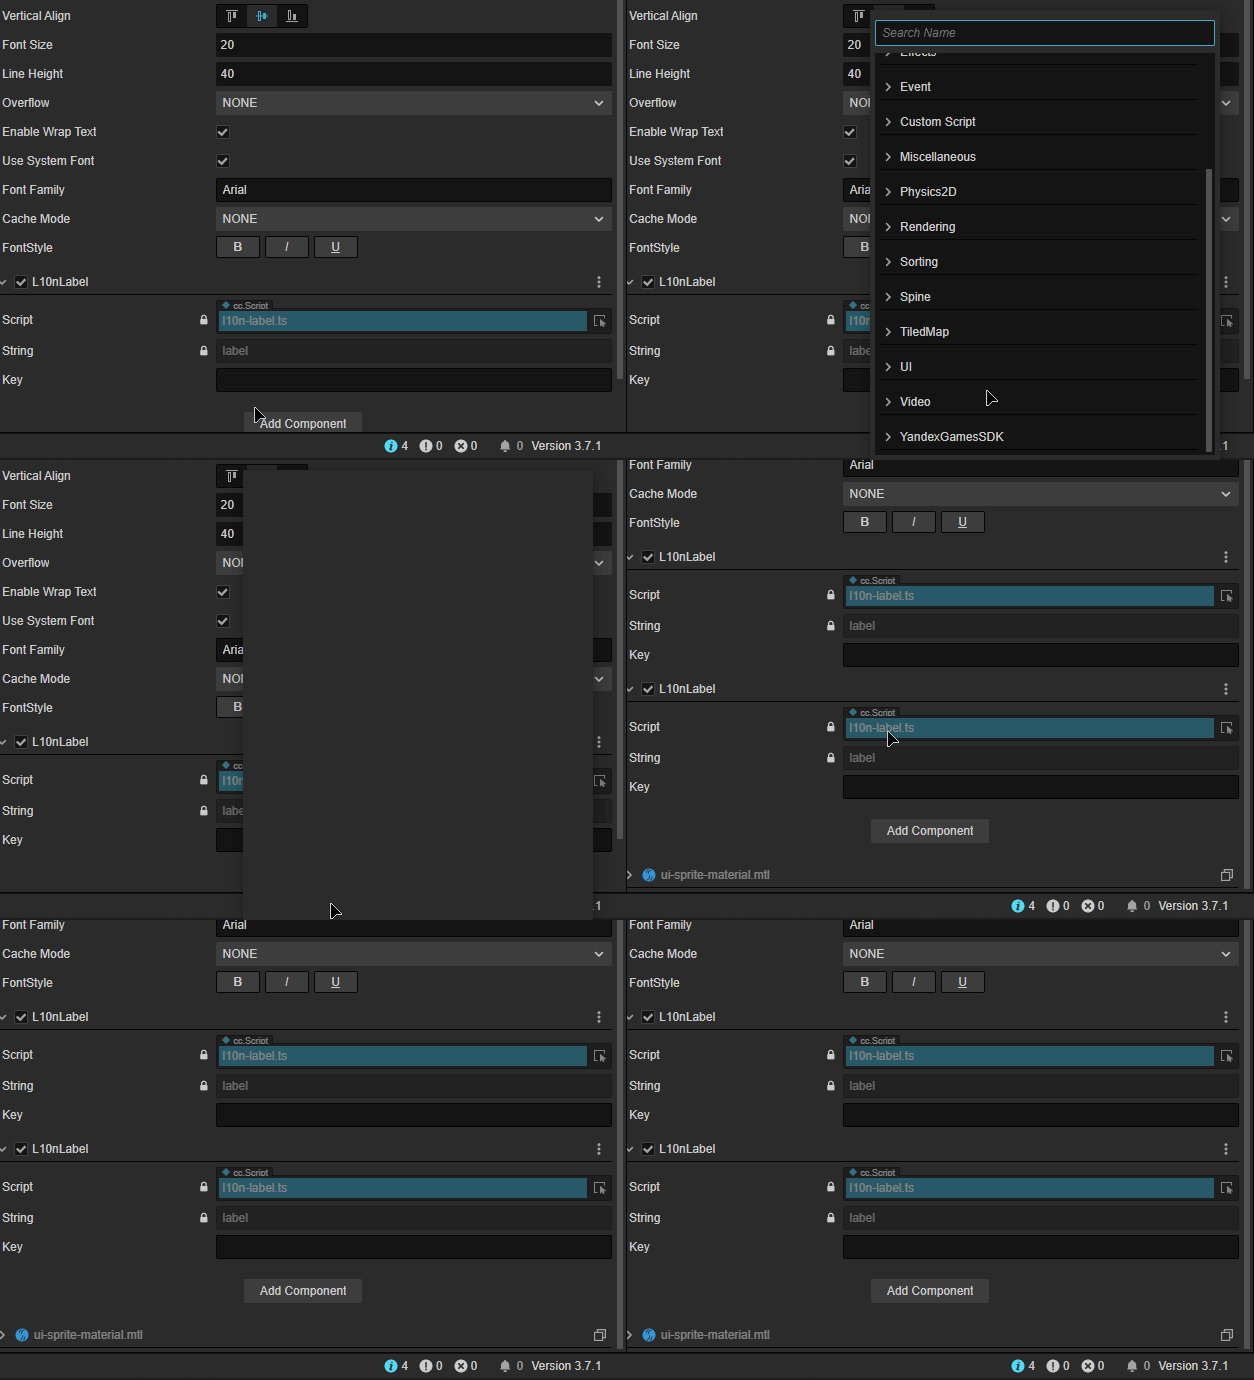
To have localization changes immediately reflected in the project without recompiling it, enter your key in the Key field.